NEW! PINSCORE Display Systems!
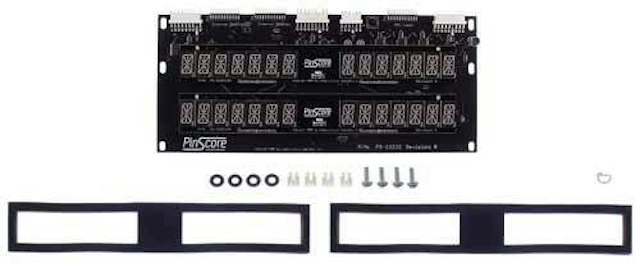
Brilliant design makes brilliant displays. New PINSCORE LED displays for pinball machines are the best performing, most feature-packed and economical replacement systems for obsolete glass plasma digital displays.
PINSCORE Model PS-12232-P77 works in all of the following Williams & Data East pinball machines:
Williams:
Late F-14 TOMCAT* main production board No. 5760-12134-00
FIRE!
BIG GUNS
SPACE STATION
CYCLONE
SWORDS OF FURY
Data East:
PLAYBOY 35th ANNIVERSARY
SECRET SERVICE
TIME MACHINE
TORPEDO ALLEY
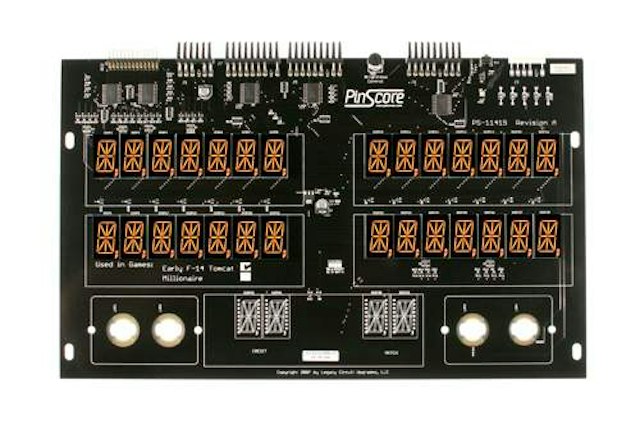
*NOTE for F-14 TOMCAT: Two different score display boards were used in F-14 TOMCAT. The EARLY production model had 4 twist lamp socket holes in the circuit board and was labeled with the part number D-11415.
The PS-11415-F is designed to replace this EARLY system. See the link below for this part.
If your machine DOES NOT have the (4) socket holes in the display, this PS-12232-P77 PINSCORE Display System is correct for your game.
Features:
Plug & Play installation
Adjustable brightness
Low power consumption uses only 5 volt power and no high voltage
Beautiful black matte finish
Foam light shields prevent general illumination leakage glare
Crisp alpha and numeric digits illuminate in original font and color
5 year warranty
Assembled in USA
INSTALLATION:
1. Unplug the AC power from your pinball machine. Remove game backglass. Unplug all display board connecting cables and remove original display board.
2. Set the switches. Remove the PS-12232 board from its package and find your game listed on the chart on the BACK of the circuit board. The 3 bank DIPSWITCH is labeled SW2 and located near the center bottom on the FRONT of the board. Set the 3 switches using a paper clip or pen point to your game as indicated in the table. (ON is UP and OFF is DOWN). No damage will occur if the switches are not set correctly, but the display may show scrambled characters.
3. Mount the new board. Install the fiber washers between the screw head and PS-12232 circuit board. Place the white plastic spacers between the circuit board and the wooden backbox insert panel. Hand-tighten the screws so that you may align the displays with the backglass windows before finally securing the board. If further alignment is necessary, you may adjust the insert panel door hinges and latch in the backbox.
4. Connect the cables. Not all connectors are used on all games. The 2 connectors labeled EXTERNAL DISPLAY are NOT used in the PS-12232-P77 system . The ribbon cable goes to the connector labeled MPU CABLE. The power connectors are keyed to prevent incorrect alignment. Ribbon cables are not keyed and it is possible to mis-align the connector. Observe correct polarity on all ribbon cables - the red striped wires on all ribbon cables go to PIN No.1 (also labeled as RED) on all boards.
5. Double-check all connections, plug in the machine, and turn the game on. The LED’s will light up. Pressing the diagnostic pushbutton labeled SW1/DISPLAY TEST on the PS-12232 board will illuminate all segments of all displays. This indicates that all components of the PINSCORE System are operating correctly. The thumbwheel BRIGHTNESS control labeled R10 on the right side of the board allows you to set your preferred illumination level.
Reference:
UDN7180A
5760-12134-00
D-12232
D-12232-1
D-11610